Windows XP Configuration
These instructions assume your 802.11b wireless card is installed properly. If you need assistance getting your wireless card configured on your computer please contact your card manufacturer or vendor technical support.
Make sure you are in an area served by CruzNet. See Coverage Map.
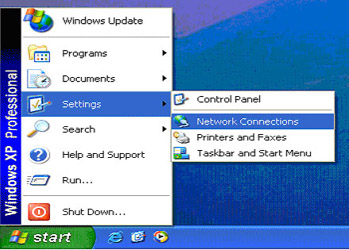
From the Start menu open Settings, Network Connections.
Your 802.11b card may show up as a "Wireless Network Connection" that is unavailable.
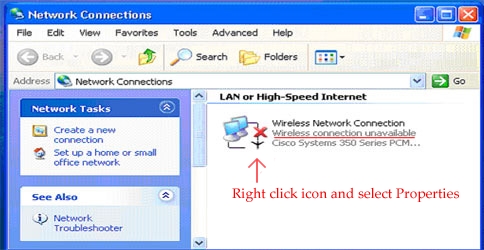
The icon representing your installed card will have a red X showing that it is disconnected.
Right click the connection icon and select Properties.
You will next see the "Wireless Network Connection" window:
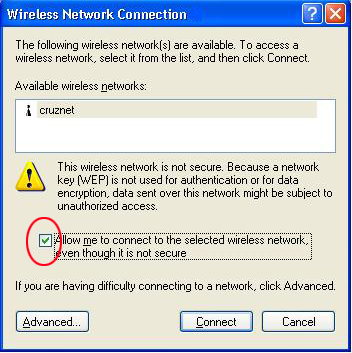
In the "Wireless Network Connection" put a check in the box
next to "Allow me to connect to the selected wireless network,
even though it is not secure". Click "Connect"
Your wireless card is now set to connect to CruzNet!
Click "OK" and restart your computer if it asks you too.
To login to CruzNet, open your web browser. A security window will appear:
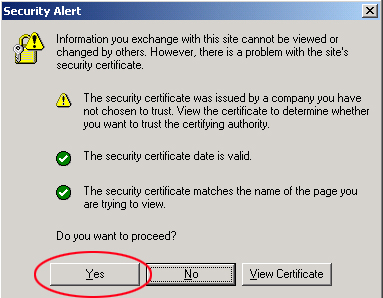
Click: "Yes".
Next, the CruzNet login screen will appear in your browser:
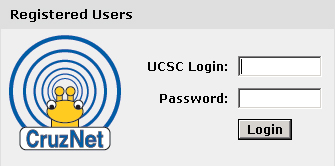
Type in your UCSC login and password to connect.

UC Santa Cruz, 1156 High Street, Santa Cruz, Ca 95064
©2024 Regents of the University of California. All Rights Reserved.