Scanning on Epson Perfection 2450 (Mac)
Return to Main Menu
These instructions cover how to scan pictures using the flatbed Epson scanner connected to the Macintosh computer.
1. Open Adobe Photoshop: Click on the Adobe Photoshop icon from the apple doc that appears at the bottom of the screen.
![]()
Make sure that the scanner is on: If it is on, the green light on the bottom of the front of the scanner will be on. The power button is located on the right side of the scanner towards the back.
Open the scanner cover and place your picture/image face down on the glass, positioned in the upper right hand corner where the green and white arrow is.
2. After the application has started click on File > Import > EPSON Perfection 2450
3. First, make sure that Home Mode is selected in the Mode list.
To do a preliminary scan of your image, click on Preview. Do not remove your picture from the scanner yet! You will see a window on the screen showing a preview of your image with a box of moving dashed lines around all or part of the image. This box shows the area to be selected for a final scan. You may manipulate this chosen area by clicking on and dragging the box lines. When you are satisfied with the selected area, you are ready to do a final scan.
Set the Document Type to the type of image you are scaning for example if you are scaning a Color photo set the document type to Photo and the Image type to Color. If you are scanning a black and white photo set the Image Type to Grayscale. For a plain text document, set the Document Type to Text/Line Art.
If your final output will be to the web, set the Destination for Screen/Web. If you will be printing at high quality change the Destination to Printer.
When you have set the scanning area, Document and Image Type and Destination as desired click on the Scan button.
4. Your image is now brought into Photoshop where you can edit it further.
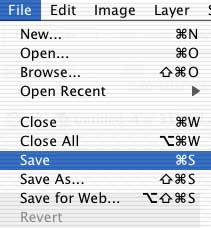
To save your image to disk, click on File > Save. Be sure you select a folder in which to save your image. Pick a name for your image; if you are going to be using the image on the web you will need to choose a name that does not include any spaces (Example: mypicture or my_picture).
Need More Information?
This tutorial is designed to assist students, faculty, and staff of UC Santa Cruz, and is not intended to offer comprehensive support for Epson or Photoshot. If you need more help, please visit the Epson Perfection 2450 - Technical Support.
Return to Main Menu
